
How Many Granny Squares for a Blanket: A Planning Guide
Plan your granny square blanket with confidence: measure your blocked square, choose a finished size, calculate rows and columns, and adjust for joining and borders.
Quick answer
The number of granny squares you need equals your target blanket width divided by your blocked square width (rounded to whole columns), multiplied by your target length divided by your blocked square height (rounded to whole rows). Always measure after blocking, and add extra squares for joining seams and borders if you want them to sit inside your target dimensions.
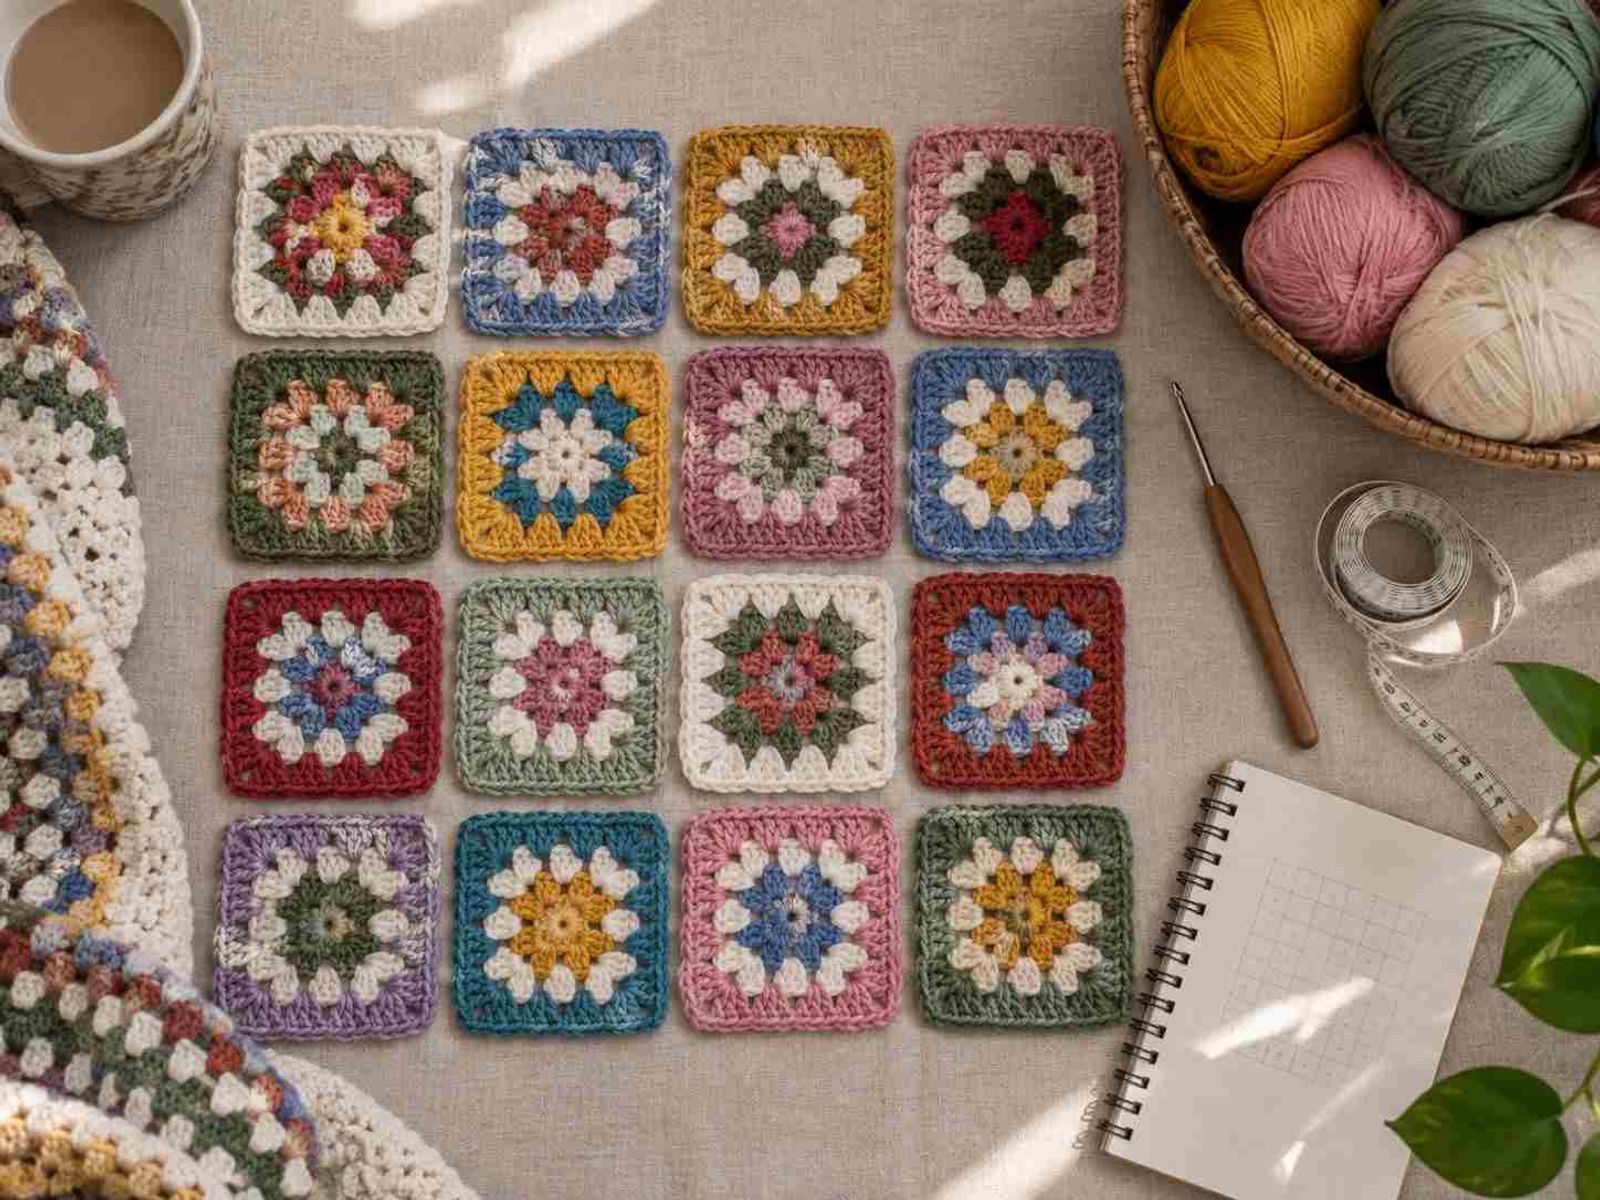
You finish another granny square, add it to the growing pile on the sofa, and realize the pile is not a plan. The moment comes for every blanket maker: squares made without a target become a scarf, a lap blanket that was supposed to be a bed cover, or a project that stalls because the end is invisible. This guide gives you a reliable method to decide how many squares you need, how to arrange them, and where the hidden adjustments hide.
The Short Answer
Count = columns × rows.
Columns = target blanket width ÷ blocked square width, rounded to a whole number. Rows = target blanket length ÷ blocked square height, rounded to a whole number.
That is the core. Everything that follows is the detail that keeps your plan honest.
Step 1: Measure One Blocked Square
Unblocked crochet lies. Tension relaxes, stitches settle, and a square that measures 4 inches today may measure 4.75 inches after a gentle wet block. Your blanket plan must use the finished, stable measurement.
How to measure for planning:
- Block one square using your intended method (wet block, steam, or spray)
- Let it dry fully
- Measure across the center of two opposite edges, not from point to point if your square is not perfectly flat
- Record width and height separately; granny squares are not always perfectly square in practice
If your squares vary, block three and average the results. A plan built on one unusually tight or loose square will mislead you.
Step 2: Choose Your Finished Blanket Size
Blanket sizes are conventions, not laws. A "throw" in one pattern is 36 × 50 inches; in another it is 40 × 60 inches. A twin bed blanket and a twin bedspread are different targets. Pick your dimensions before you calculate.
Common target ranges (verify against your own need):
Blanket type — Typical width — Typical length
Baby/lap — 30–36 in — 30–36 in
Throw — 40–50 in — 50–60 in
Twin (bedspread) — 66–72 in — 90 in
Full/Queen — 80–90 in — 90–100 in
King — 108 in — 90–100 in
These ranges reflect common North American bedding conventions. UK, European, and Australian makers should check their local mattress dimensions, which differ. The Craft Yarn Council provides sizing guidance used widely in published patterns, though individual designers vary.
Step 3: Rows and Columns Logic
With your blocked square size and target dimensions, the math is simple division. The complication is that you cannot crochet a fraction of a square.
Worked example:
- Blocked square: 6 inches wide × 6 inches tall
- Target throw: 48 inches wide × 60 inches long
Columns: 48 ÷ 6 = 8 exactly Rows: 60 ÷ 6 = 10 exactly Total squares: 8 × 10 = 80 squares
A less tidy example:
- Blocked square: 5.5 inches × 5.5 inches
- Target throw: 48 inches × 60 inches
Columns: 48 ÷ 5.5 = 8.72 → round to 9 columns (49.5 inches) Rows: 60 ÷ 5.5 = 10.9 → round to 11 rows (60.5 inches) Total squares: 9 × 11 = 99 squares
Here you must decide: accept 49.5 × 60.5 inches, or adjust your target. Rounding down to 8 columns gives 44 inches—too narrow for the throw you wanted. Rounding up adds squares and size. There is no universal rule; the choice belongs to your project.
Step 4: Account for Joining Method
Joining consumes space. The amount depends on your technique:
- Whipstitch or mattress stitch (seamed): Each seam removes a small amount of fabric to the seam allowance, typically ⅛ to ¼ inch per join. The finished blanket may shrink slightly.
- Slip-stitch or single-crochet join: These add a ridge and can add width. A single-crochet join between 6-inch squares might add ¼ to ½ inch per seam, depending on hook size and tension.
- Join-as-you-go: Eliminates separate seaming but still creates connecting chains or stitches between squares. The effect on dimensions is usually smaller than a separate crocheted join.
Practical rule: If you plan a precise target size, make a small swatch joined square (two squares, joined, blocked) and measure. Theoretical joining estimates fail because your tension in joining rarely matches your tension in square-making.
Step 5: Border Allowance
Borders frame the blanket and fix edge irregularities. They also add size.
A simple single-crochet border might add ½ inch total (¼ inch per side). A substantial scalloped or picot border could add 2 inches or more. If your target size is strict—fitting a specific bed, for example—decide your border before finalizing your square count, and subtract its planned width from your target dimensions before calculating columns and rows.
Example with border:
- Target: 48 × 60 inches finished, including border
- Planned border: 1 inch on all sides (2 inches total to width and length)
- Working target for squares: 46 × 58 inches
- Blocked square: 6 inches
- Columns: 46 ÷ 6 = 7.67 → 8 columns (48 inches)
- Rows: 58 ÷ 6 = 9.67 → 10 rows (60 inches)
- Square blanket before border: 48 × 60 inches
- With border added: 50 × 62 inches—oversized
This reveals a common trap. You may need to accept 7 columns (42 inches) plus border for 44 inches total, or revise your target. Blanket planning is iterative, not a single calculation.
Step 6: Odd Sizes and Partial Planning
Not every blanket needs a full grid decided in advance. Two valid alternatives exist:
Strip construction: Plan one row's width to match your target, make squares until that row is complete, then repeat rows until length is reached. This works well for scrap projects where square colors vary unpredictably.
Center-plus-border design: Make a central granny square panel, then add rounds of a different stitch or larger squares around it. The square count applies only to the center; the rest follows different logic.
Asymmetrical layouts: Some designs use squares of multiple sizes. In that case, divide your blanket into zones, calculate each zone separately, and sum the results.
When to Use the Calculator
For the exact grid once you know your blocked square size and target dimensions, theGranny Square Calculatorhandles the division, rounding, and total count instantly. It is built for this specific job.
If you are still deciding what size blanket to make, theBlanket Size Calculatorshows standard dimensions by use case.
For yarn quantity estimates after you know your square count, see the guide onhow much yarn you need.
Common Mistakes
- Measuring unblocked squares: The blanket will grow after finishing, often unevenly.
- Ignoring joining in the plan: A 10 × 10 grid with thick joins is not the same size as one with invisible seams.
- Forcing exact math on inexact craft: Crochet stretches. Build in 2–3 inches of tolerance for functional blankets.
- Making all squares before planning: The pile on the sofa problem. Make 5–10, block, measure, then scale production.
- Forgetting that "square" is an aspiration: Rectangular granny squares happen. Measure both dimensions, plan accordingly, or adjust your pattern.
What to Do Next
Block your first square. Measure it honestly. Pick your target size and border style. Run the columns-and-rows math, decide on your rounding, and make a small joined test if precision matters. Then make squares with a number in mind, not a hope.
The calculator waits for your two numbers: blocked square size, and target blanket size. Everything before that is the planning this guide covers.
Sources
- Craft Yarn Council — Common North American blanket size conventions by bed type; confirms these are guidelines, not universal standards
- The Spruce Crafts — Blanket size ranges vary by region and intended use; reinforces that maker should verify against own needs
- Martha Stewart — Blocking stabilizes crochet dimensions and is essential for accurate finished measurements
Related calculators
Something look wrong? Report a calculation or content problem.